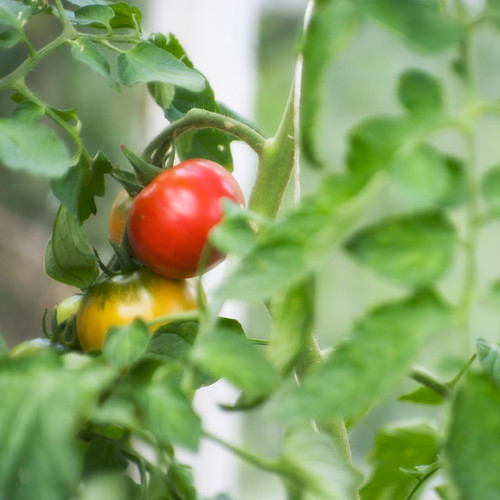
Homegrown tomatoes are the best! We have to grow them in a glasshouse here in southern New Zealand but it's worth the effort.
When you grow tomatoes in a glasshouse you should really change the soil each year to avoid the build up of disease. We usually buy a load of superdirt which is great stuff if you don't think of where it came from (I won't go into details here :-) )
To this I add some peat, dolomite lime and long term slow-release fertilizer granules. The problem every year is what to do with the soil you've removed, we tend to spread it round the garden as a mulch.
Strangely this year I've got many plants of plum/Italian style tomatoes when I didn't plant any of that type of seed. I suspect it was a contaminated pack of seeds. Just hope they taste okay. I guess I can always preserve them if they're not good for salads.
Although it's probably cheaper in the long run to buy tomatoes from the supermarket I'll keep growing them, the taste is unbeatable!
Sunday, January 15, 2012
First tomato 5/365
Friday, January 13, 2012
Rain 3/365
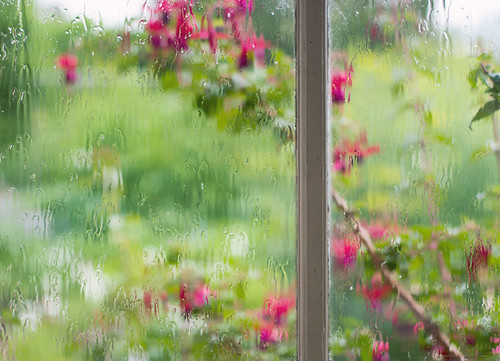
It was sunny this morning, honest! In fact it's been sunny for most of the day. I left taking my daily photo too long so a rain photo is what you get, I do kind of like the watercolour effect it gives to my garden though.
Talking of gardens, I've spent most of the day harvesting - broad beans, raspberries and the tail end of the currants and weeding. I really need to get out into the garden more often!
Thursday, January 12, 2012
Breakfast 2/365
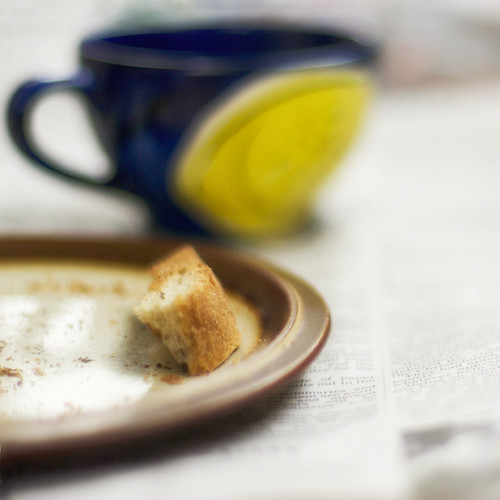
And because I started the 365 yesterday and didn't blog, there will be two posts in one day! Miracles never cease :-)
Breakfast with the newspaper....
I make bread almost every day, using a breadmaker as it makes it so easy and we much prefer the bread to the bought stuff. I should eat my crusts though!
It's rained here today, the first decent rain for over a month and it's certainly welcome as everything is getting dry.. It's been a great summer down here so far this year, unlike last year.
Blackcurrants 1/365
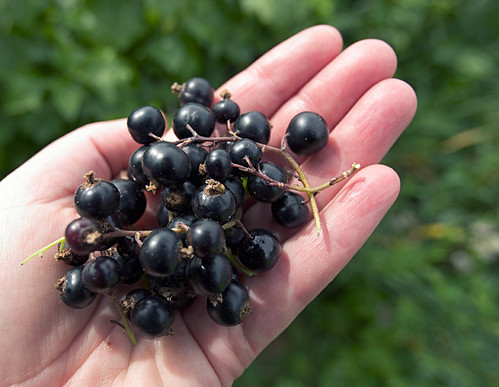
What a shock! A new post after almost 3 years!
I've started to do do a 365 picture a day project from my second Flickr photostream and it seemed a good opportunity to blog them at the same time.
The blackcurrants are ready to pick, we have several bushes and they give a good crop each year almost without fail. After the very messy of job of cleaning them (I try and farm this job out to other family members) they are frozen and used for jam and deserts. Mmmm.....
Wednesday, October 07, 2009
Shortbread
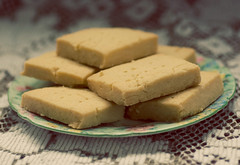
I made this batch to her recipe especially for "photographic purposes" of course it's nowhere as good as hers..
Anyway, here's the recipe for Grandma's Shortbread (probably real Scottish shortbread too, as my great grand parents were from Scotland.
Grandma's Shortbread
8oz butter
4oz sugar
14 oz flour
Cream butter and sugar. Add flour, then make into a ball and either roll out and cut into squares or shape into a long rectangle and slice into squares. In earlier years grandma used the first method, but in later she used the latter.
Prick the top with a fork. Bake in a slow oven 325 -350 F
Enjoy! I know I did :-)
Sunday, September 20, 2009
Portrait of a mother
This lovely lady posed beautifully for me, I think the fact that there was a fence between me and her helped :-)
This was processed using one of the new textures available from Flypaper Textures, the site Paul and I launched just yesterday. I used one called Grande Tour very subtly to add a little more depth and it worked a charm :-)
Monday, August 03, 2009
home brewed
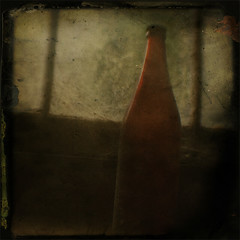
When beer kits became available he switched to those for ease of use and while the resulting brew was more predictable it wasn't nearly as exciting as the old home-brew stinking hops and all.
He also used to make his own wine, but I'll write about that another day.
Wednesday, June 24, 2009
Lost and found

This leads me to my problem, how do you sort your photos so you can find things easily? At present my photos are sorted into folders by date taken and each individual photo is named once I've processed the Raw file, the problem is that the names I give them are usually very general, flower, beach, garden and as a result I can't find anything easily. So when I want to do a manipulation and want to lay my hands on a certain type of landscape to use as a background, do you think I can find it without having to spend forever searching?
So what's the secret to organising your photos, do I have to bite the bullet and learn how to use Bridge properly, or is there an easier way?
And the conifer....I've still not found it!